In interior design and finish carpentry, the concept of Finish trim plays a crucial role in elevating the aesthetic appeal, functionality, and perceived quality of a space. From sleek modern designs to ornate traditional styles, finish trim elements serve as the finishing touches that bring a room together. This comprehensive guide delves into everything you need to know about finish trim—from understanding different styles and materials to expert installation techniques, finishing methods, and maintenance strategies. Whether you’re a homeowner embarking on a renovation or a professional contractor seeking to refine your craft, this article provides actionable insights to achieve a high-quality, durable, and visually stunning trim finish that lasts for years to come.
Understanding Finish Trim: Types and Applications
Finish trim encompasses a variety of molding and carpentry elements used to conceal joints, transitions, and imperfections while adding stylistic detail to interior spaces. The primary function of finish trim is both aesthetic and functional—defining room boundaries, framing doors and windows, and providing a polished look to flooring and wall intersections.
There are numerous types of finish trim, each designed for specific applications and interior styles. Understanding these categories helps homeowners and builders select the appropriate trim for each project, balancing durability, style, and ease of installation.
Different Styles of Finish Trim for Various Rooms
Styles of finish trim vary based on architectural intent, room function, and personal preference. Here are key categories:
- Baseboards: Installed along the bottom of walls, baseboards hide subfloor edges and protect walls from kicks and scuffs. Styles range from simple flat profiles to elaborate cove or beveled designs, fitting modern, traditional, or rustic decors.
- Crown Molding: Positioned at the junction of walls and ceilings, crown molding adds height, elegance, and visual interest. It varies from understated plain profiles to highly decorative, ornate designs suitable for formal areas.
- Quarter Round and Shoe Molding: Small trim pieces used alongside baseboards to cover gaps or transitions between different flooring types or wall/baseboard junctions.
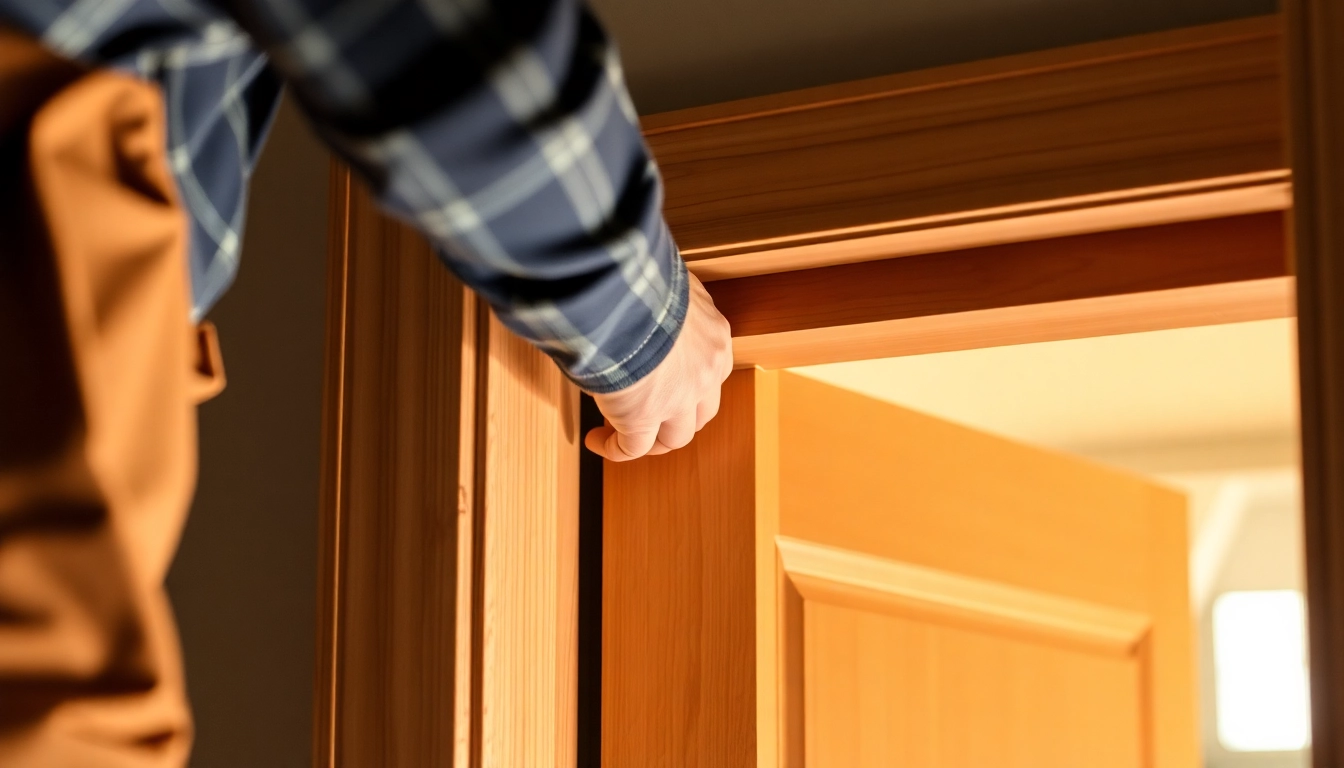
- Door and Window Casing: Frames that surround doors and windows, providing a finished look while also sealing gaps. Styles include colonial, Craftsman, or contemporary profiles, each imparting a distinct character.
Choosing the Right Material for Durable, Aesthetic Finish Trim
The material selection impacts not only the visual outcome but also the trim’s longevity and ease of installation. Common options include:
- Wood: Traditional and versatile, wood provides warmth and can be painted, stained, or left natural. Choices range from softwoods like pine to hardwoods like oak and cherry.
- MDF (Medium Density Fiberboard): Cost-effective and paint-ready, MDF resists warping in dry conditions but is less durable in moisture-prone areas. Ideal for painted finishes.
- PVC or Vinyl: Moisture-resistant and suitable for bathrooms, kitchens, or exterior applications. Available in various styles and colors, requiring minimal maintenance.
- Polystyrene and Composite Materials: Lightweight, easy to work with, and often pre-finished or primed, these materials provide an efficient solution for quick installations.
Common Finish Trim Profiles and Their Design Impact
Profiles influence the perceived scale, formality, and style of a room. For example:
- Flat and Simple Profiles: Modern appeal, minimal visual weight, best suited for contemporary interiors.
- Ogee and Cascading Profiles: Traditional elegance, with intricate curves and decorative edges, ideal for classic and historic styles.
- Beadboard and Plinths: Adds texture and detail, often used in cottage or rustic designs.
Step-by-Step Guide to Installing Finish Trim
Preparing Your Workspace and Selecting Tools
Preparation is key to achieving a professional-looking finish trim installation. Start by clearing the work area, protecting furniture, and ensuring appropriate lighting. Gather essential tools including a miter saw, tape measure, level, nail gun, construction adhesive, caulking, and finishing tools like putty knives and sanders.
Ensure all materials are acclimated to the environment’s humidity and temperature to prevent warping or swelling. Using high-quality, sharp blades on your saws enhances cut precision, reducing gaps and misalignments.
Measuring, Cutting, and Fitting Finish Trim Accurately
Accurate measurements are the foundation of a clean installation. Use a combination square, tape measure, and a level for marking. When measuring, always account for the angles and ensure consistent reference points. Cutting should be done at precise angles, typically 45 degrees for corners, to allow seamless joints.
Test-fit pieces before nailing or gluing, adjusting as needed. For rooms with irregular walls or ceilings, custom cuts and careful fitting prevent gapping and misalignments, resulting in a seamless appearance.
Securing and Finishing Touches for a Seamless Look
Secure trim with finishing nails or a pneumatic nail gun, ensuring nails are at appropriate depth. Use a nail set to countersink nails just below the surface. Fill nail holes and screw imperfections with high-quality wood filler or putty, then sand smooth for a polished finish.
Check alignment regularly and use a level to ensure everything stays straight. For corners and joints, miter cuts should fit tightly; use caulk or wood glue as needed for extra stability and to fill gaps.
Painting and Finishing Techniques for a High-Quality Finish
Surface Preparation for Smooth Paint Application
Achieving a flawless paint finish on finish trim requires meticulous preparation. Sand all surfaces with fine-grit sandpaper to remove imperfections and ensure adhesion. Clean surfaces thoroughly to remove dust, grease, or residues that could impede paint bonding.
Priming is often recommended, especially for MDF or raw wood. Use a high-quality primer compatible with your paint and intended finish. Priming enhances coverage, color consistency, and adhesion, reducing the risk of bleed-through or staining.
Choosing the Best Paint and Sheen for Trim
The paint sheen significantly influences both appearance and durability. Satin or semi-gloss sheens are popular choices for finish trim due to their balance of sheen and ease of cleaning. For high-traffic areas or rooms with moisture, like kitchens and bathrooms, a semi-gloss or gloss finish offers increased resistance to stains and humidity.
In terms of color, classic whites and neutrals remain favored, but bold or contrasting hues can add modern flair or highlight architectural features. Use high-quality latex or oil-based paints for a smooth, durable finish.
Techniques for Achieving a Flawless Finish and Preventing Bleeds
For a professional look, apply paint in thin, even coats using high-quality brushes or rollers designed for trim. Maintain a wet edge to prevent lap marks. Use painter’s tape along edges for sharp lines, removing it before paint fully dries for clean separations.
To prevent bleed-through from knots or raw wood, apply an oil-based primer or stain-blocking primer. For painted edges and detailed profiles, use a high-precision brush or a small foam roller. Sand lightly between coats for a smooth, even surface.
Design Tips to Enhance Your Interior with Finish Trim
Color Coordination and Style Pairings with Trim Profiles
Thoughtful color coordination enhances the aesthetic harmony of your interior. White and neutral trim pairs well with colored walls for a crisp, clean look. Conversely, matching trim and wall colors create a seamless, integrated appearance.
For a traditional look, use warm neutrals with ornate profiles like ogee or egg-and-dart moldings. Modern spaces benefit from simple profiles in high-contrast colors or minimal tones, emphasizing sleek lines and open space.
Combining Crown Molding, Baseboards, and Casing for Cohesion
Achieving a cohesive look involves selecting trim profiles with consistent details and proportions. Match the width of baseboards with the scale of crown molding—wider baseboards with more elaborate crown designs convey a luxurious effect. For door and window casings, use complementary profiles—simple for modern, intricate for traditional styles.
Creative Uses of Finish Trim to Add Visual Interest and Value
Innovative applications include installing wider crown moldings with contrasting paint colors, creating a focal point in living rooms or dining areas. Incorporating decorative trim patterns or medallions enhances character. Use dado rails or picture rails to add layers of depth and preserve wall surfaces, especially in historic restorations.
Maintaining and Repairing Finish Trim Over Time
Cleaning and Routine Upkeep for a Lasting Shine
Regular dusting with a microfiber cloth and gentle cleaning with mild soap help maintain the appearance. Avoid harsh chemicals that can degrade paint or finish. Occasionally inspect for chips, scratches, or stains, addressing them promptly to prevent deterioration.
Touch-up and Repairs for Damaged or Worn Finish Trim
Minor damage can be fixed with spot sanding, then repainting or refinishing. For larger issues, consider repainting entire sections to ensure uniform appearance. Use matching paint and tools to blend repairs seamlessly into the existing finish. Tightening loose trim prevents further damage and maintains structural integrity.
Updating Finish Trim to Refresh Your Interior Aesthetic
Over time, style preferences evolve. You can update your look by repainting or replacing old trim with contemporary profiles. Stripping outdated paint layers and refinishing raw wood can dramatically change the room’s ambiance, adding value and freshness to your space.


